Words by Dr. Rich Ozminkowski
For nearly 100 years, HEINZ has been testing, breeding, and growing tomato varieties to develop redder, thicker tomatoes for their HEINZ Ketchup. All that tomato expertise has led to the breeding of dozens of successful tomato varieties, including HEINZ Tomato Seedz ’Early Resilience’ hybrid tomato (Solanum lycopersicum cv. ‘Early Resilience’). These tomato seeds were bred to flower early and carry resistance to late blight, a disease that can quickly destroy a tomato crop. They are a great tomato plant for first-time gardeners, sitting low to the ground and growing up to 50 tomatoes on one plant!
Today, we want to walk you through the step-by-step process to grow these HEINZ Tomato Seedz (or any other at-home tomato variety) at home – no green thumb required!
Step 1: Make sure you are planting your seeds at the right time based on where you live AND that you have the correct supplies.
Not familiar with what that entails? Read our article “How to start growing tomatoes at home based on HEINZ Tomato Experts’ advice.”
Step 2: Plant your tomato seeds
Six to eight weeks before your frost-free date, it is time to plant your seeds indoors. First, secure your seeding container and fill it with your lightweight potting mix. Moisten the soil with a watering can. If using a 4-inch pot, use the pencil to poke four small holes around the perimeter of the pot and one in the middle. Fill each hole with two tomato seeds and cover with the potting mix. If using a cell pack, put 1-2 seeds in each cell.
You should start to see the seeds pop through the soil (germinate) after 7-10 days!
Starting Seeds
Now, we need to talk about three critical variables for starting seeds: temperature, light, and water.
- Temperature – Before the plant pops out of the soil, try and keep your pot in a warm place (68-70 degrees), light is not important until after germination.
- Light – After germination, light is the most important variable to track. Without enough bright light, you will end up with spindly tomato plants with a thin stem that may not survive outside. If you don’t have a grow light at home, the HEINZ Tomato Experts recommend rotating the plants to different windowsills throughout the day for full light exposure.
- Water – With seedlings, water only when the top of the soil looks dry. Soggy soil will rot the seed or plant. And, don’t worry, if the seedlings wilt a little now and then, it builds a tough plant. What doesn’t kill them makes them stronger!
Starting within a few days after germination, fertilize your seedlings once a week to grow strong roots. HEINZ Tomato Experts recommend a water-soluble fertilizer that is low in nitrogen (first number) and high in phosphorus (middle number), something like 15-30-15. The standard water-soluble fertilizer (which is high in nitrogen) can also be used but be careful not to get the plants too tall since nitrogen builds leaves and stems!
If you see two plants next to each other, thin to a single plant to grow a healthier plant.
For the next four weeks, follow the above steps and you should see 2 to 3 inches of growth from your seedlings – congratulations!
Step 3: Nurture your seedling for transplanting
After four weeks comes the next critical step: hardening your plants. You will eventually transplant your tomatoes outdoors and to prepare them for this harsh change, we need to start hardening them against the outdoors so they will survive. Start bringing your plants outside during the day and bring them back inside at night, especially if you live in an area that gets below freezing at night.
By the time your frost-free date arrives, you should see 6-8 inches of growth (after about 6-8 weeks), and you’re ready for the next step!
Step 4: Transplant your plant outdoors
Here is where you have two options: transplant to a garden OR to a 16-inch pot – both are great options and treated nearly the same for the transplant.
-
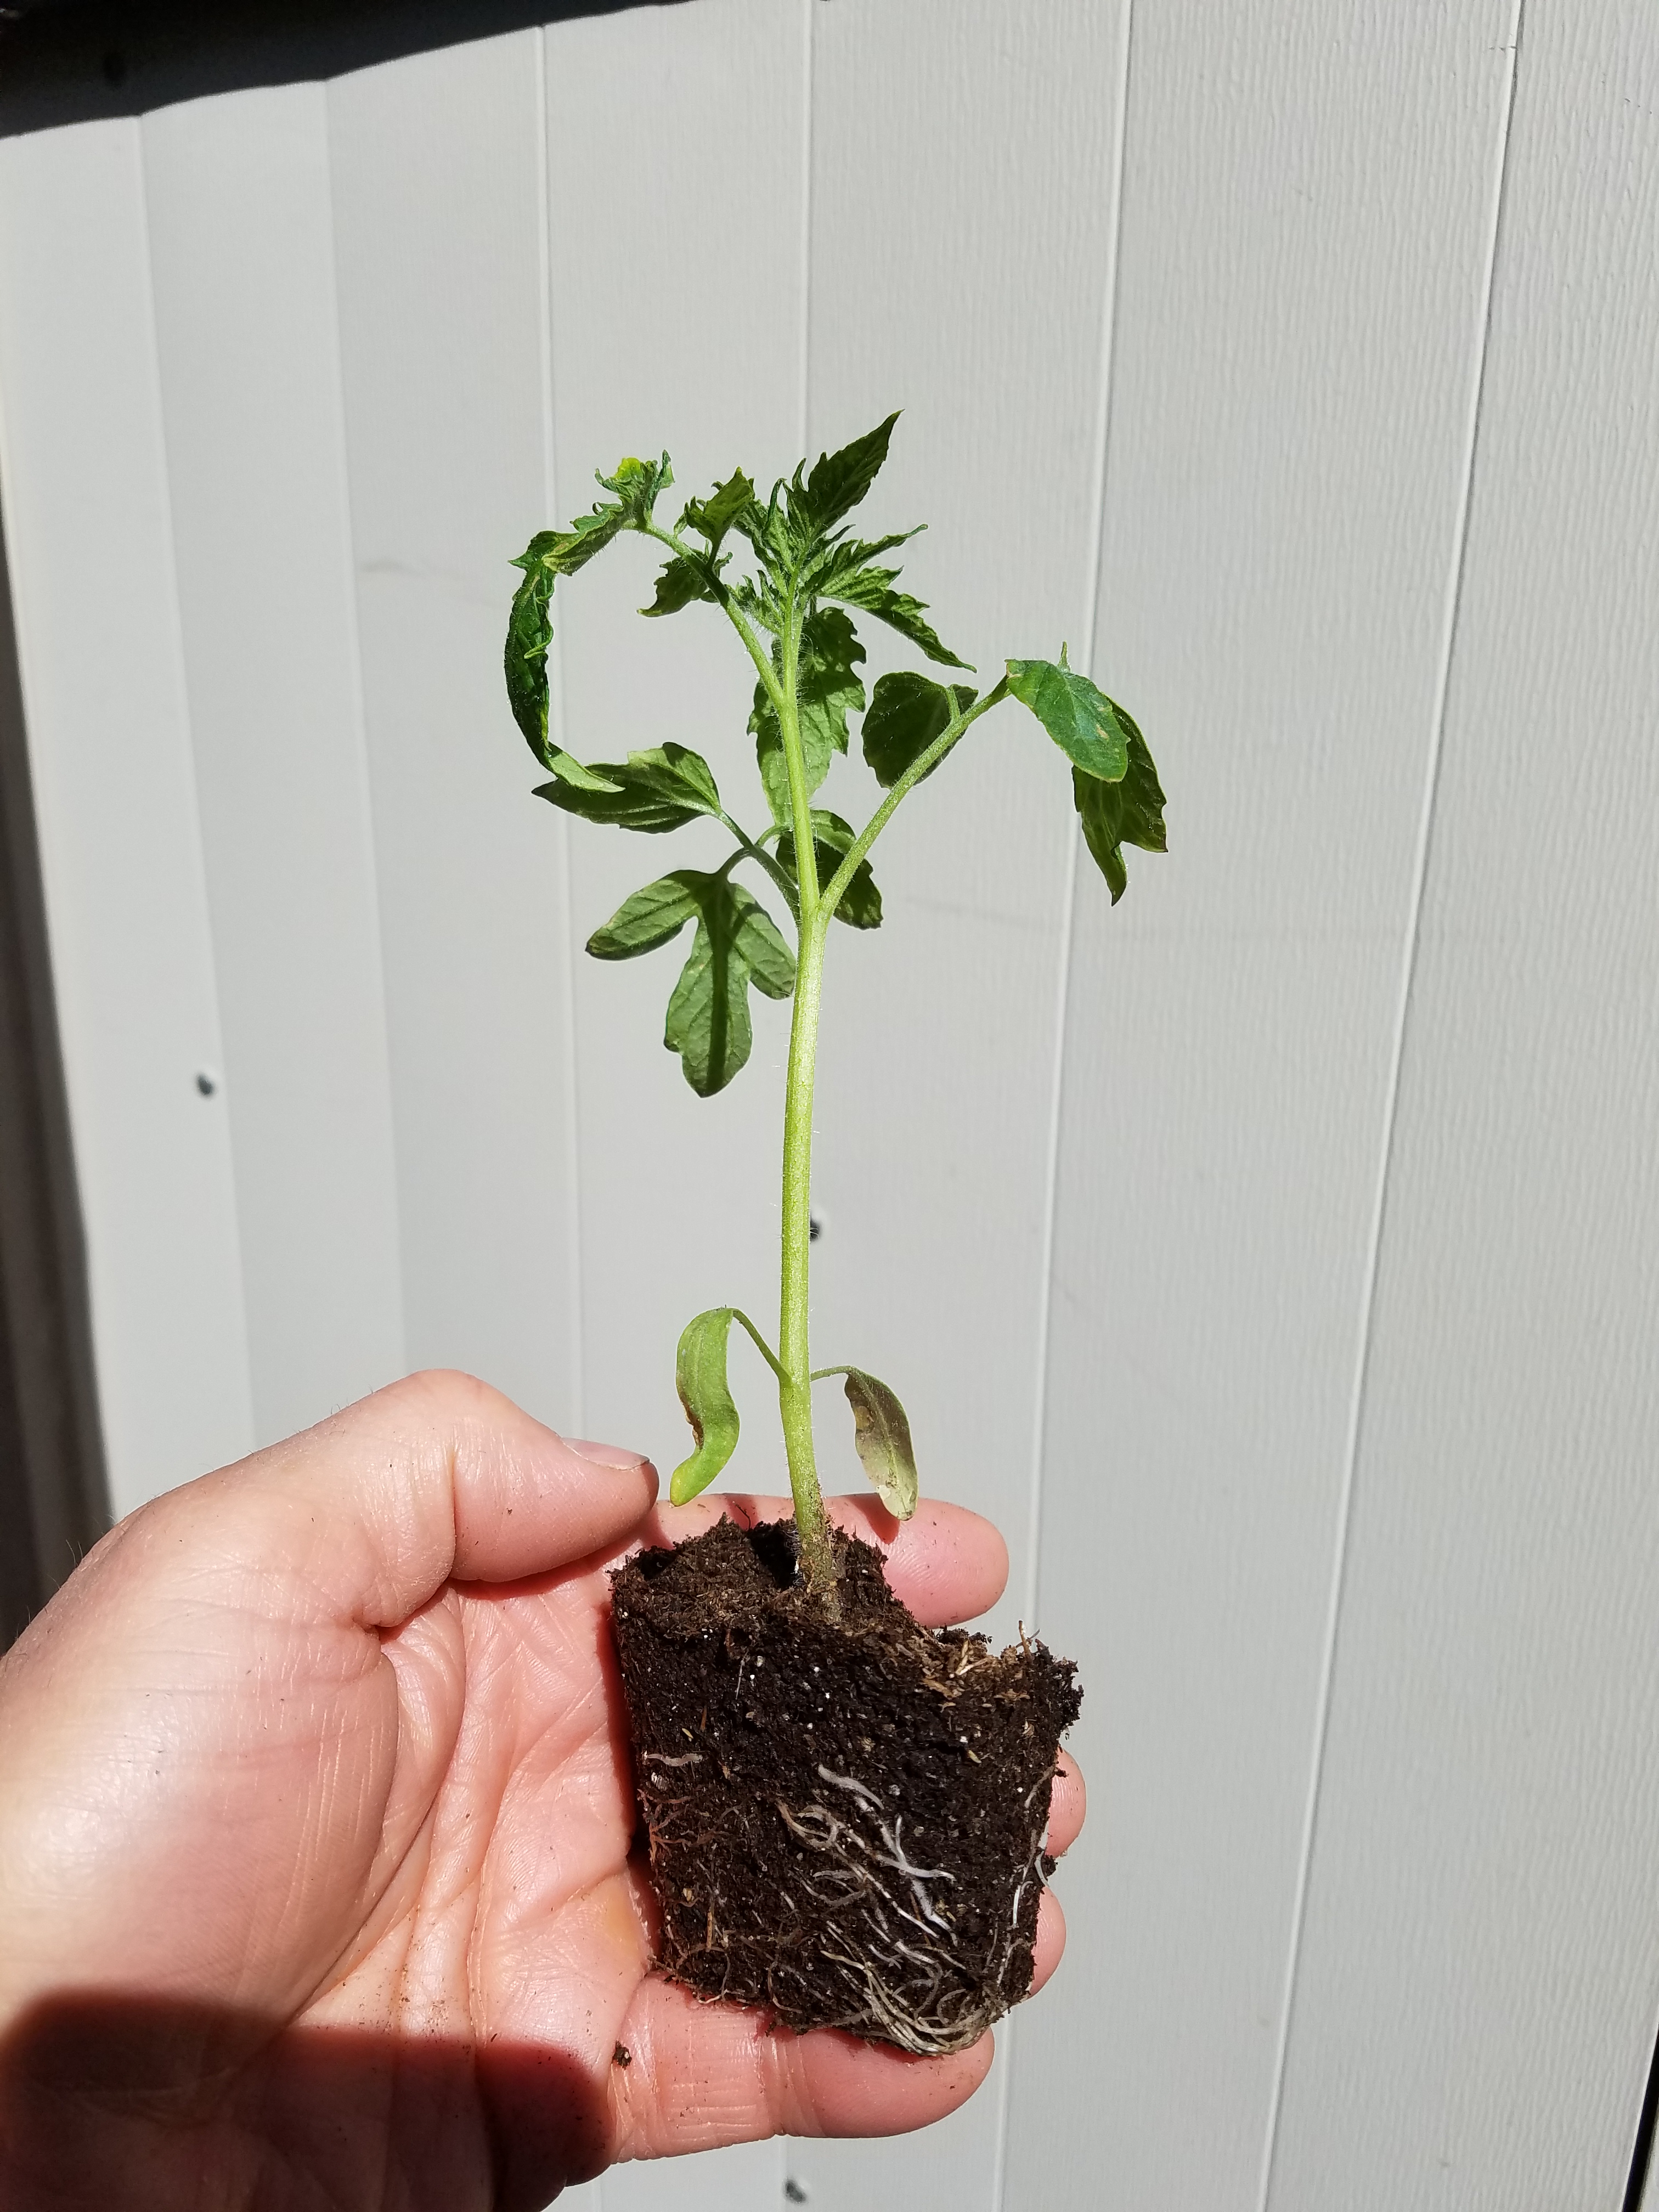
- If you started your seedlings in a 4-inch pot, and all went according to plan, you should see five healthy seedlings. Remove all 5 from the pot and gently pull apart their root systems so you can follow the above step for each plant. If you used a cell pack, keep one plant per cell and leave the roots intact.
- Dig a deep enough hole in your garden or 16-inch pot that you can bury your plant so only 2-3 inches are showing above the soil. We do this to give a sturdier plant with more root spread. Remember, only 1 plant per pot.
Over the next month, while the plants establish themselves, continue with 7-10-day fertilizer applications using a water soluble.
Once the plants are planted outdoors, water is the most critical variable. If you water too frequently, the roots will grow toward the top of the soil and prone to Blossom End Rot. Strategic watering will encourage a strong root system by making it grow to the water. An occasional wilt is not a big problem early on, but once you start to see a few small flower buds (25 days or so after transplanting), plants should not be allowed to wilt. Also, the soil can’t be kept too wet, so stick your finger in the soil, let the top inch of the soil dry a bit.
Step 5: Harvest
After another 4-6 weeks, you should begin to see tomatoes starting to on your plant! Our HEINZ Tomato Seedz grow up to 50 tomatoes per plant but this will vary be growing conditions, climate.
Step 6: Prepare for next year
When you are done harvesting your tomatoes, be sure to pull your plant out of your 16-inch pot or the ground and compost it. It could carry over diseases to next year’s crop if you don’t!
















Hi,
Many people adopted to their hobbies during the pandemic and so do I became rooftop gardener. Your article is very useful. Thank you very much.
Shahab Ahmad Bham